
Are you in the process of changing your kitchen backsplash, and would like to know if you can do it yourself? This easy guide will show you how to go about it.
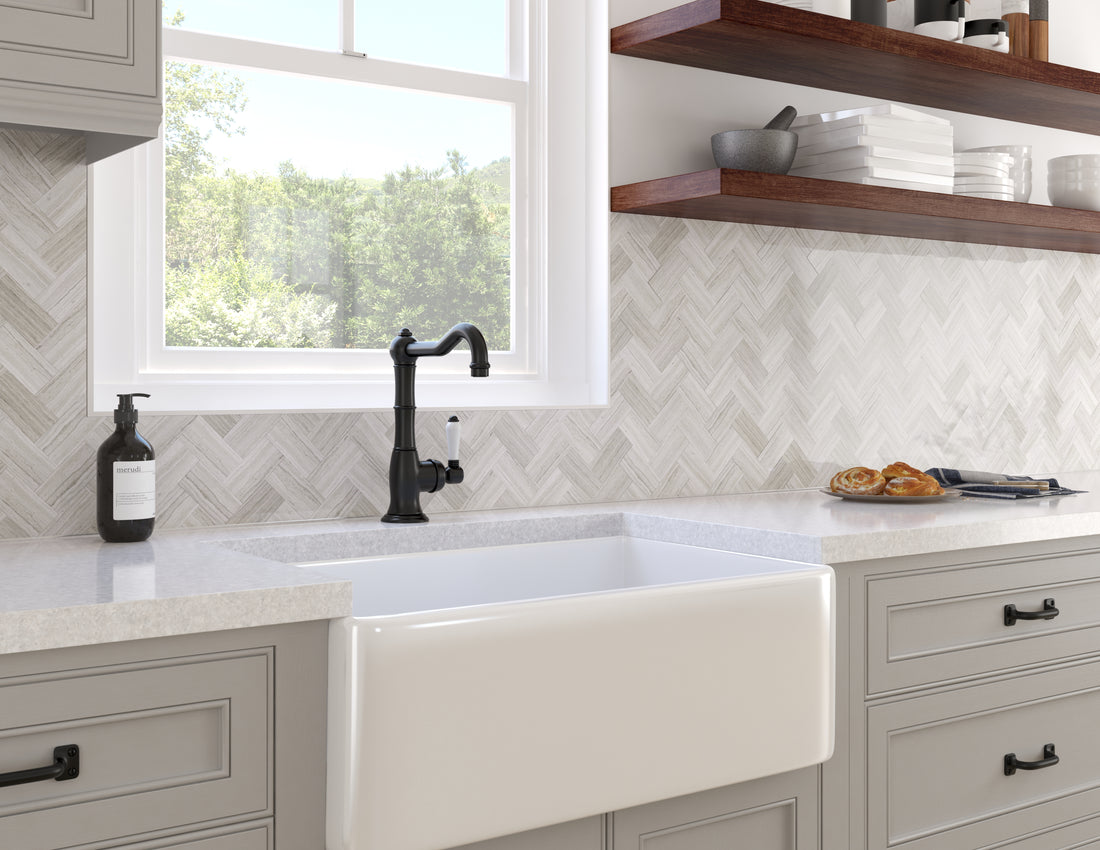
A kitchen backsplash is one of the elements that is the easiest to change and that gives the most visible results. It can light up a room, add a funkier touch, and completely change the style of your kitchen!
Step 1: Gather the necessary equipment
Here are the items you will need for the installation of SpeedTiles Peel and Stick tiles:
- Protective glasses
- Protective gloves
- A measuring tape
- A level
- A pencil to mark the cut and the wall
- A manual tile cutter
- A wet saw
- A knife with a retractable blade
If you are installing 2X Fater SpeedTiles (with grout) you will also need:
- Grout
- A tiling sponge
- A grout float
If you are installing regular tiles, here are the additional tools you will need:
- A notched trowel
- A drill to mix the mortar
- Mortar
- A bucket for the mortar
Step 2: Preparing your wall
It is essential to properly prepare your wall, allowing a much simpler and faster installation of your tiles. It is important to make sure your wall is clean and level.
If you are installing peel and stick tiles such as SpeedTiles, your wall should also be smooth and non-porous such as a primed drywall.
If you want to install SpeedTiles over an existing backsplash, if it meets the criteria mentioned above, you will not have to tear off the existing tiles; you can simply stick them on top!
It is also recommended to plan the installation of your tiles; using a measuring tape, mark the center of your backsplash which will serve as a guide for your first tile. Also mark a level line from your highest countertop point and simulate installing your tiles by laying them flat on your countertop. This step allows you to see if some tiles are damaged and if you have enough for your project.
Step 3: Applying your mortar
This step is not required if you are installing SpeedTiles Peel and Stick tiles.
If you are installing regular tiles, using your notched trowel spread your mortar at a 45-degree angle; start with the bottom row of your wall.
Step 4: Cutting and installing your tiles
There are several tools for cutting mosaic tiles, but the fastest and most efficient is the wet saw. If you don’t have one, you can rent one at major hardware stores.
Begin installation with the tile in the center, parallel to your level line.
Installation Tip for SpeedTiles Peel and Stick Tiles: It is recommended to fill an empty spray bottle with water and 2-3 tablespoons of dish soap. Before installing a tile on the wall, lightly spray the adhesive side of the tile. This will delay the adhesion process, allowing you a few extra seconds to place your tile correctly.
Step 5: Applying your grout
This step is not required if you are installing self-adhesive tiles such as SpeedTiles 3X Faster (without grout).
If you are not using peel and stick tiles, make sure you let your cement glue dry overnight. If you are using a powdered grout, be sure to follow the mixing instructions.
To apply the grout, use a grout float, making sure to remove the excess. A trick to properly filling the spaces between your tiles is to apply the grout diagonally. Let it dry according to the manufacturer’s instructions, then clean your tiles with a damp sponge.
Step 6: Finishing
Finally, it is strongly recommended to seal the space between your tiles and your countertop to prevent water infiltration and the appearance of mold.
Congratulations, you now know how to install your kitchen backsplash yourself!
